Hi and welcome to my blog. I normally post about anything 3D, animation and game design. I sometimes also post tips and other random things I stumble on in my endeavours.
Sunday, 7 September 2014
Tuesday, 2 September 2014
Saturday, 23 August 2014

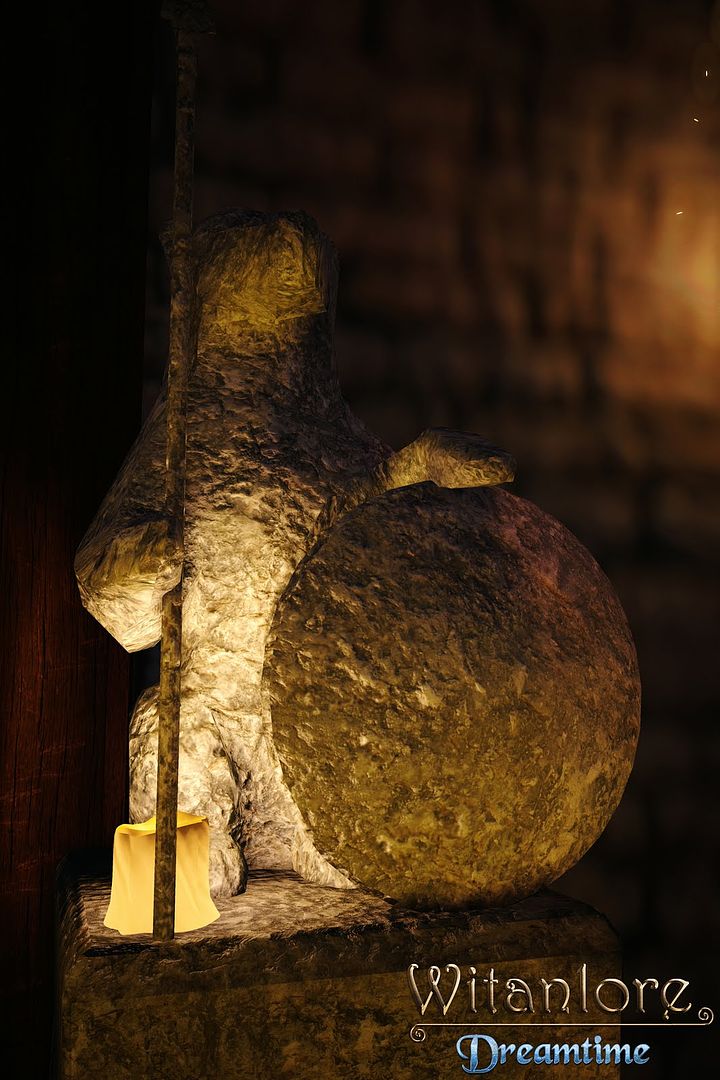
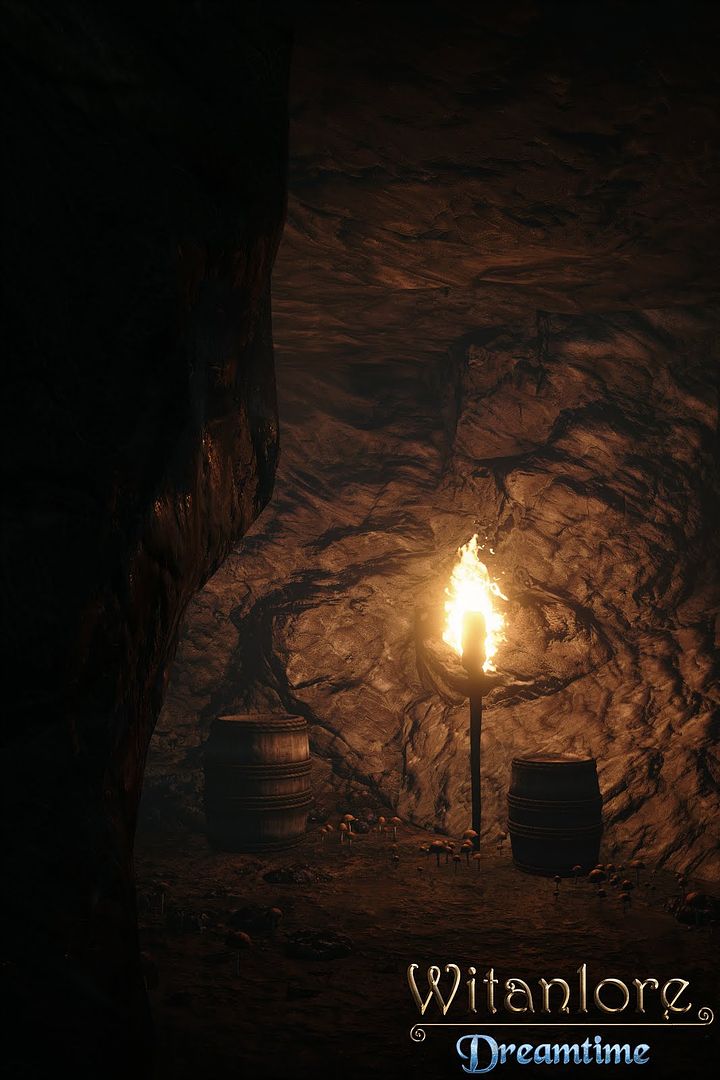
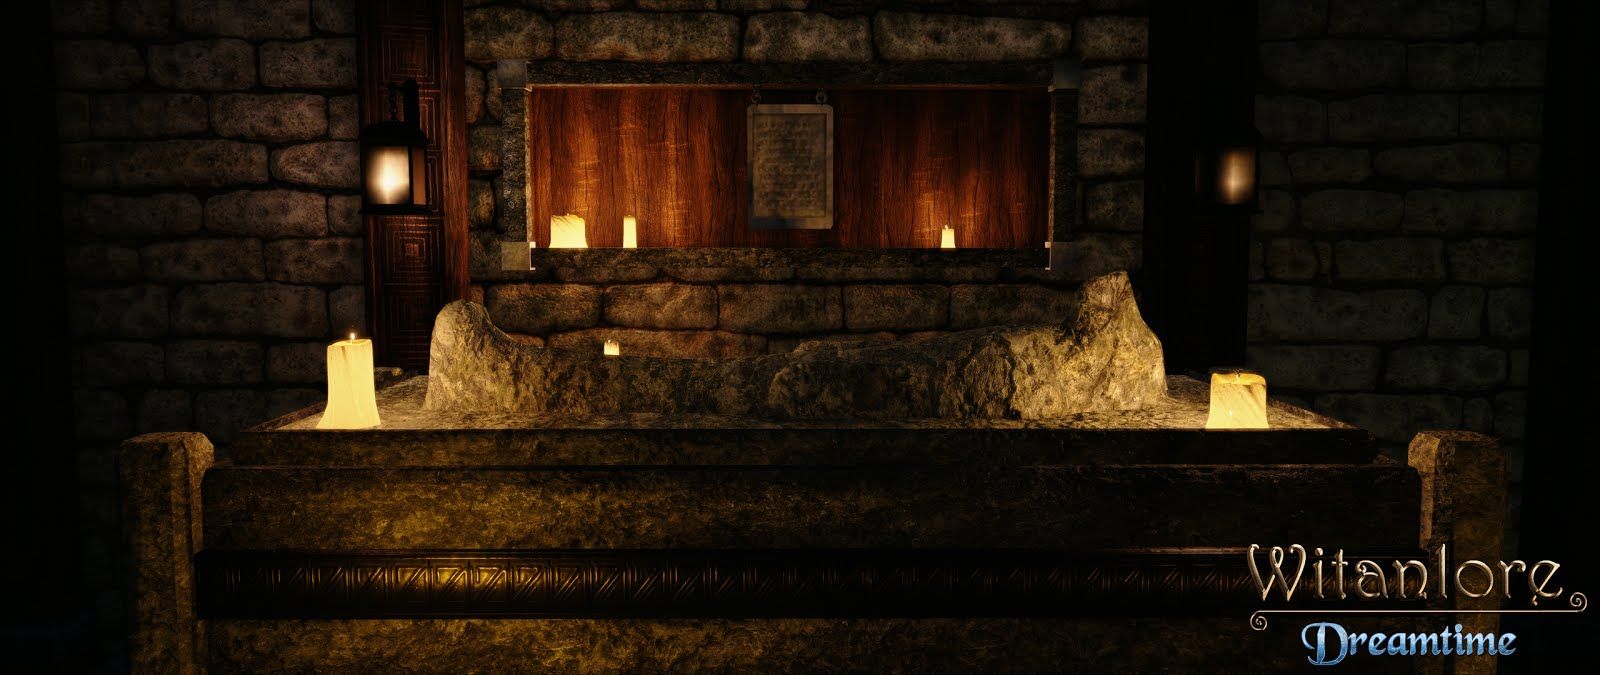
These screens are 100% in game and show the work in progress of one of our dungeons.
Our kickstarter recently got a boost of interest from a well known youtuber, Gopher, and his fans so big thanks are going out to them!
By the way, I was involved with the creation of the bear statue holding the shield :)
Pledge at the link below:
https://www.kickstarter.com/projects/druidgameworks/freelance-artists-for-witanlore-dreamtime
Monday, 18 August 2014
Video Dev Log #2: A Journey Within
Our Kickstarter has been updated with an in game video showing the latest dungeon.
You can pledge at the link below:
https://www.kickstarter.com/projects/druidgameworks/freelance-artists-for-witanlore-dreamtime
You can pledge at the link below:
https://www.kickstarter.com/projects/druidgameworks/freelance-artists-for-witanlore-dreamtime
Sunday, 10 August 2014
Kickstarter update
Our Kickstarter has been going on for a few days and it's been doing well. There have bee a bunch of updates about various subjects in game development which I think might itnerest a lot of people.
Head over to our kickstarter page and read on!
Friday, 8 August 2014
Kickstarter launch!
It's up and running! If you like RPGs you can help make our game become a reality:
https://www.kickstarter.com/projects/druidgameworks/freelance-artists-for-witanlore-dreamtime
https://www.kickstarter.com/projects/druidgameworks/freelance-artists-for-witanlore-dreamtime
Tuesday, 5 August 2014
Witanlore: Dreamtime

After months of hard work, our team has reached a milestone. We are about to launch a Kickstarter with hopes of hiring some additional help as we advance further in the development.
To find out more visit out Steam Greenlight page!
http://steamcommunity.com/sharedfiles/filedetails/?id=286783030
Just to wet your appetite here's our first dev log video:
Our Kickstarter is going live this Friday (08/08/2014)! Follow the link: http://www.druidgameworks.com/kickstarter/
It is currently in standby mode however on Friday it will be live and will accept funding as well as have a bunch of cool extras like developer updates!
Saturday, 1 March 2014
Ursa Cub update
Here's an update to the Dota2 courier I've been working on. This is the high-res model which will be sculpted on to add more detail and then baked into the normal map. I also created on of the three Fat Birds that will be holding him in the air for the flying version.
See more on my Polycount thread

See more on my Polycount thread
Monday, 3 February 2014


Friday, 17 January 2014
A simple trick to reuse parts of a normal map
Have you ever wanted to reuse parts of a normal map only to realise the copied part doesn't render as expected?
This is because normal maps take the direction of the normals, reduces them to colours and applies them to a 2D texture. If you simply copy a piece of detail and flip it to fit your UVs, while your detail will fine, the colours have been untouched and therefore the normals are still pointing where they were before.
This leads to problems and is why the render doesn't look correct. The details were flipped but not the normals!
This is what I will explain how to counter with an extremely simple trick.
The thing to understand is each colour channel points in a different direction. Depending on the engine, the directions will be different. In the case of Blender, RED is X, GREEN is Y and BLUE is Z
Here is an example. I want to copy a piece of detail to another area of the normal map.

The first step is to copy and flip the piece of detail.

From the screenshot above you can see that we need to flip the RED channel because we flipped the detail along the X axis (to the right). The GREEN channel does not need to be flipped because the Y component of the normals is already correct since we only flipped the image in the X direction.
So this is what we do. We select the area we mirrored, go into channels window and invert the colours. Dark things will become lighter and vice versa meaning the direction of that component of the normal will be reversed. So instead of pointing where it was before, it'll point in the way we want.


This is because normal maps take the direction of the normals, reduces them to colours and applies them to a 2D texture. If you simply copy a piece of detail and flip it to fit your UVs, while your detail will fine, the colours have been untouched and therefore the normals are still pointing where they were before.
This leads to problems and is why the render doesn't look correct. The details were flipped but not the normals!
This is what I will explain how to counter with an extremely simple trick.
The thing to understand is each colour channel points in a different direction. Depending on the engine, the directions will be different. In the case of Blender, RED is X, GREEN is Y and BLUE is Z
The first step is to copy and flip the piece of detail.
As you can see, the detail is flipped but the normals are not since the colours haven't been touched.
The next step is done in an editing software. Any software that can edit RGB channels independently will work. Select the new piece of detail and go into a channel editing window.
So this is what we do. We select the area we mirrored, go into channels window and invert the colours. Dark things will become lighter and vice versa meaning the direction of that component of the normal will be reversed. So instead of pointing where it was before, it'll point in the way we want.
Here is the result. You can see how the lighting now matches meaning the two are now pretty much identical, but oriented differently. Now lighting will behave as expected.
I hope this was helpful!
Saturday, 11 January 2014
The Homerun Slicer: Dota2 Item
After a lot of frustration with the weapon being at 90 degrees from the expected orientation and realising I made a silly mistake we finally finished it!
The model and concept were inspired by a Digital Tutors tutorial, and made by Kejayarts (https://www.youtube.com/user/KSAJoHn) while I produced the textures.
It was entirely painted in Blender.


The model and concept were inspired by a Digital Tutors tutorial, and made by Kejayarts (https://www.youtube.com/user/KSAJoHn) while I produced the textures.
It was entirely painted in Blender.
Thursday, 9 January 2014
Tesla S turntable
I recently made quick a turntable of the Tesla S. I wanted to play with cycles and materials so this was perfect. I still need to work out how reduce the apparent noise in the image without increasing render time too much.
More work needed to fully complete the model. Mostly in the tail lights as well as various other areas of the body which I want to be closer to the real Model S.
I made good use of the RayPump service to render it in under 10 minutes.
More work needed to fully complete the model. Mostly in the tail lights as well as various other areas of the body which I want to be closer to the real Model S.
I made good use of the RayPump service to render it in under 10 minutes.
Tuesday, 7 January 2014
Dota2 Raccoon Courier
This is the culmination of months of on/off work. The process was similar to my last character. The main difference this time, was that the rigging and animating was offloaded to an animator friend of mine.
Also, notice the DIY Hero shader made with BI nodes. I tried to replicate the in-game shader. It's not quite there, for one there's no normal map, or most of the other maps used by the real Hero shader, but I think it's a start.
The texture still needs a bit of work but it's almost there.


Also, notice the DIY Hero shader made with BI nodes. I tried to replicate the in-game shader. It's not quite there, for one there's no normal map, or most of the other maps used by the real Hero shader, but I think it's a start.
The texture still needs a bit of work but it's almost there.
Dota2 Weapon Model
My friend asked me to produce the texture for his first Dota2 item. Naturally I accepted.
I decided I would use the Blender painting tools exclusively as I wanted to try out a new workflow.


With a Wacom tablet, Blender's texture painting tools are simple and surprisingly fun to use. The following pictures are work in progress.
Subscribe to:
Posts (Atom)